Have you purchased the TappyTag? Here's how to set it up
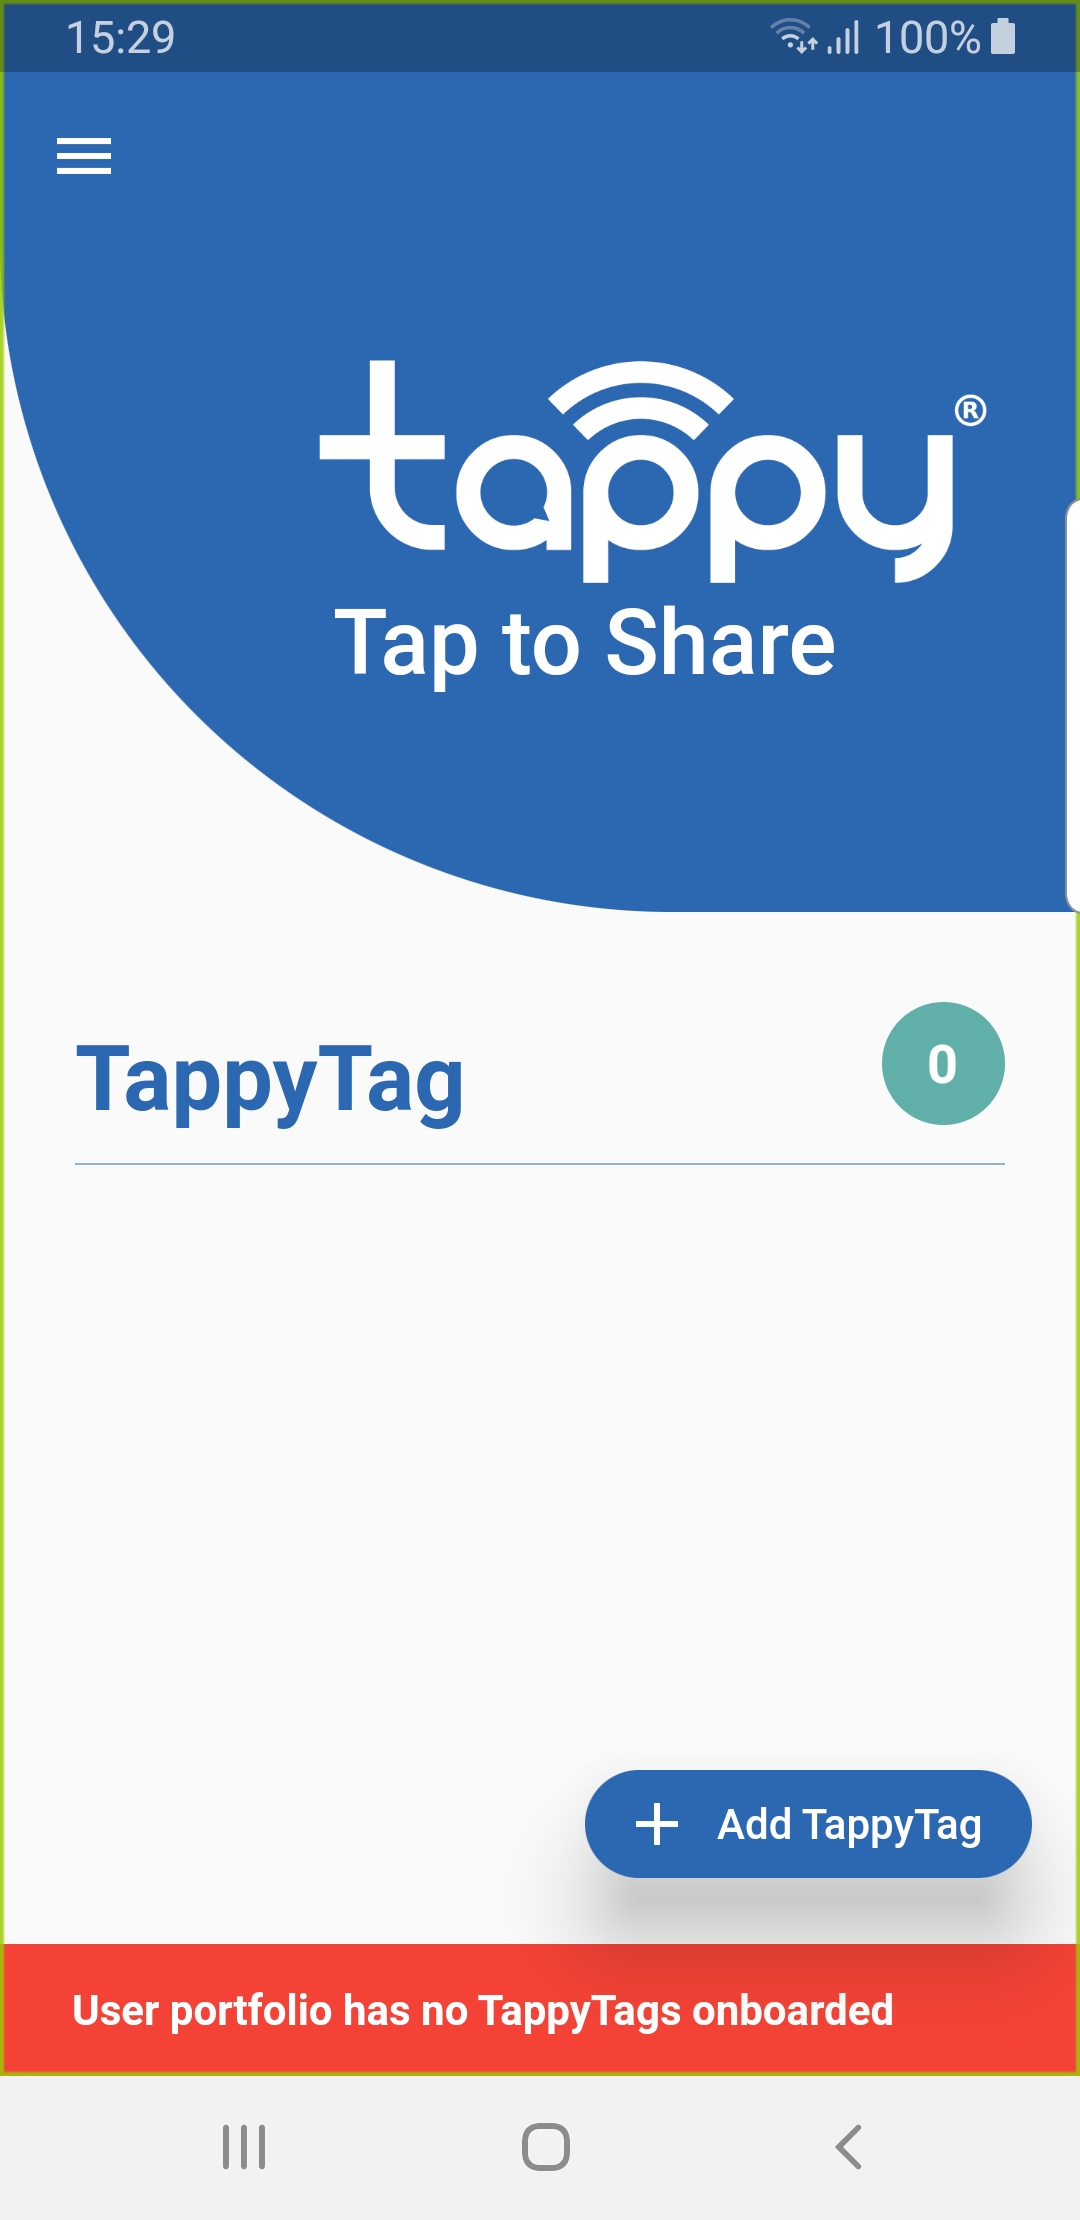
From the home page of the app, click on the button Add TappyTag
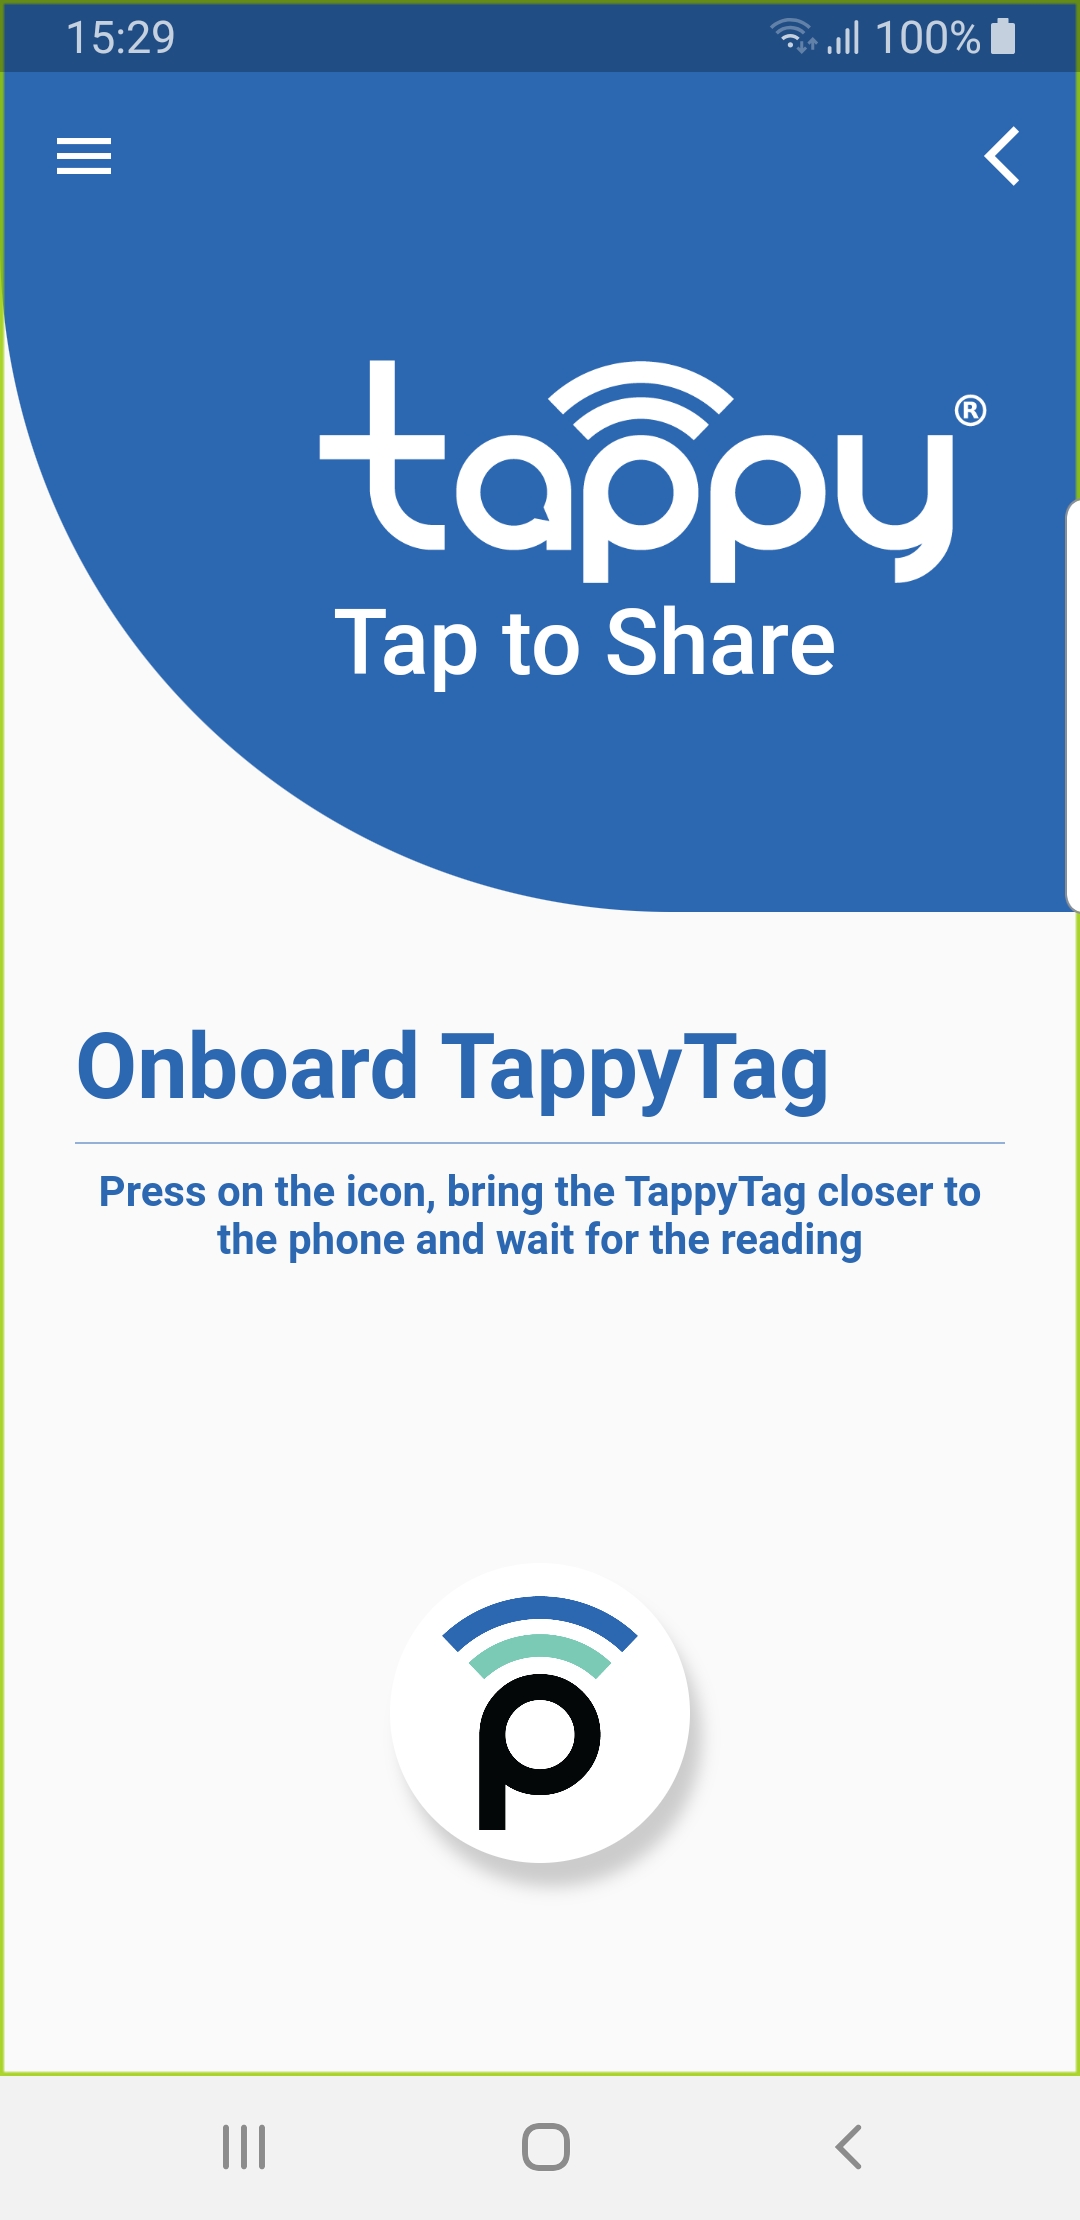
Click on the Tappy icon and bring the TappyTag close to the back of the phone or in any case in a position capable of detecting it.
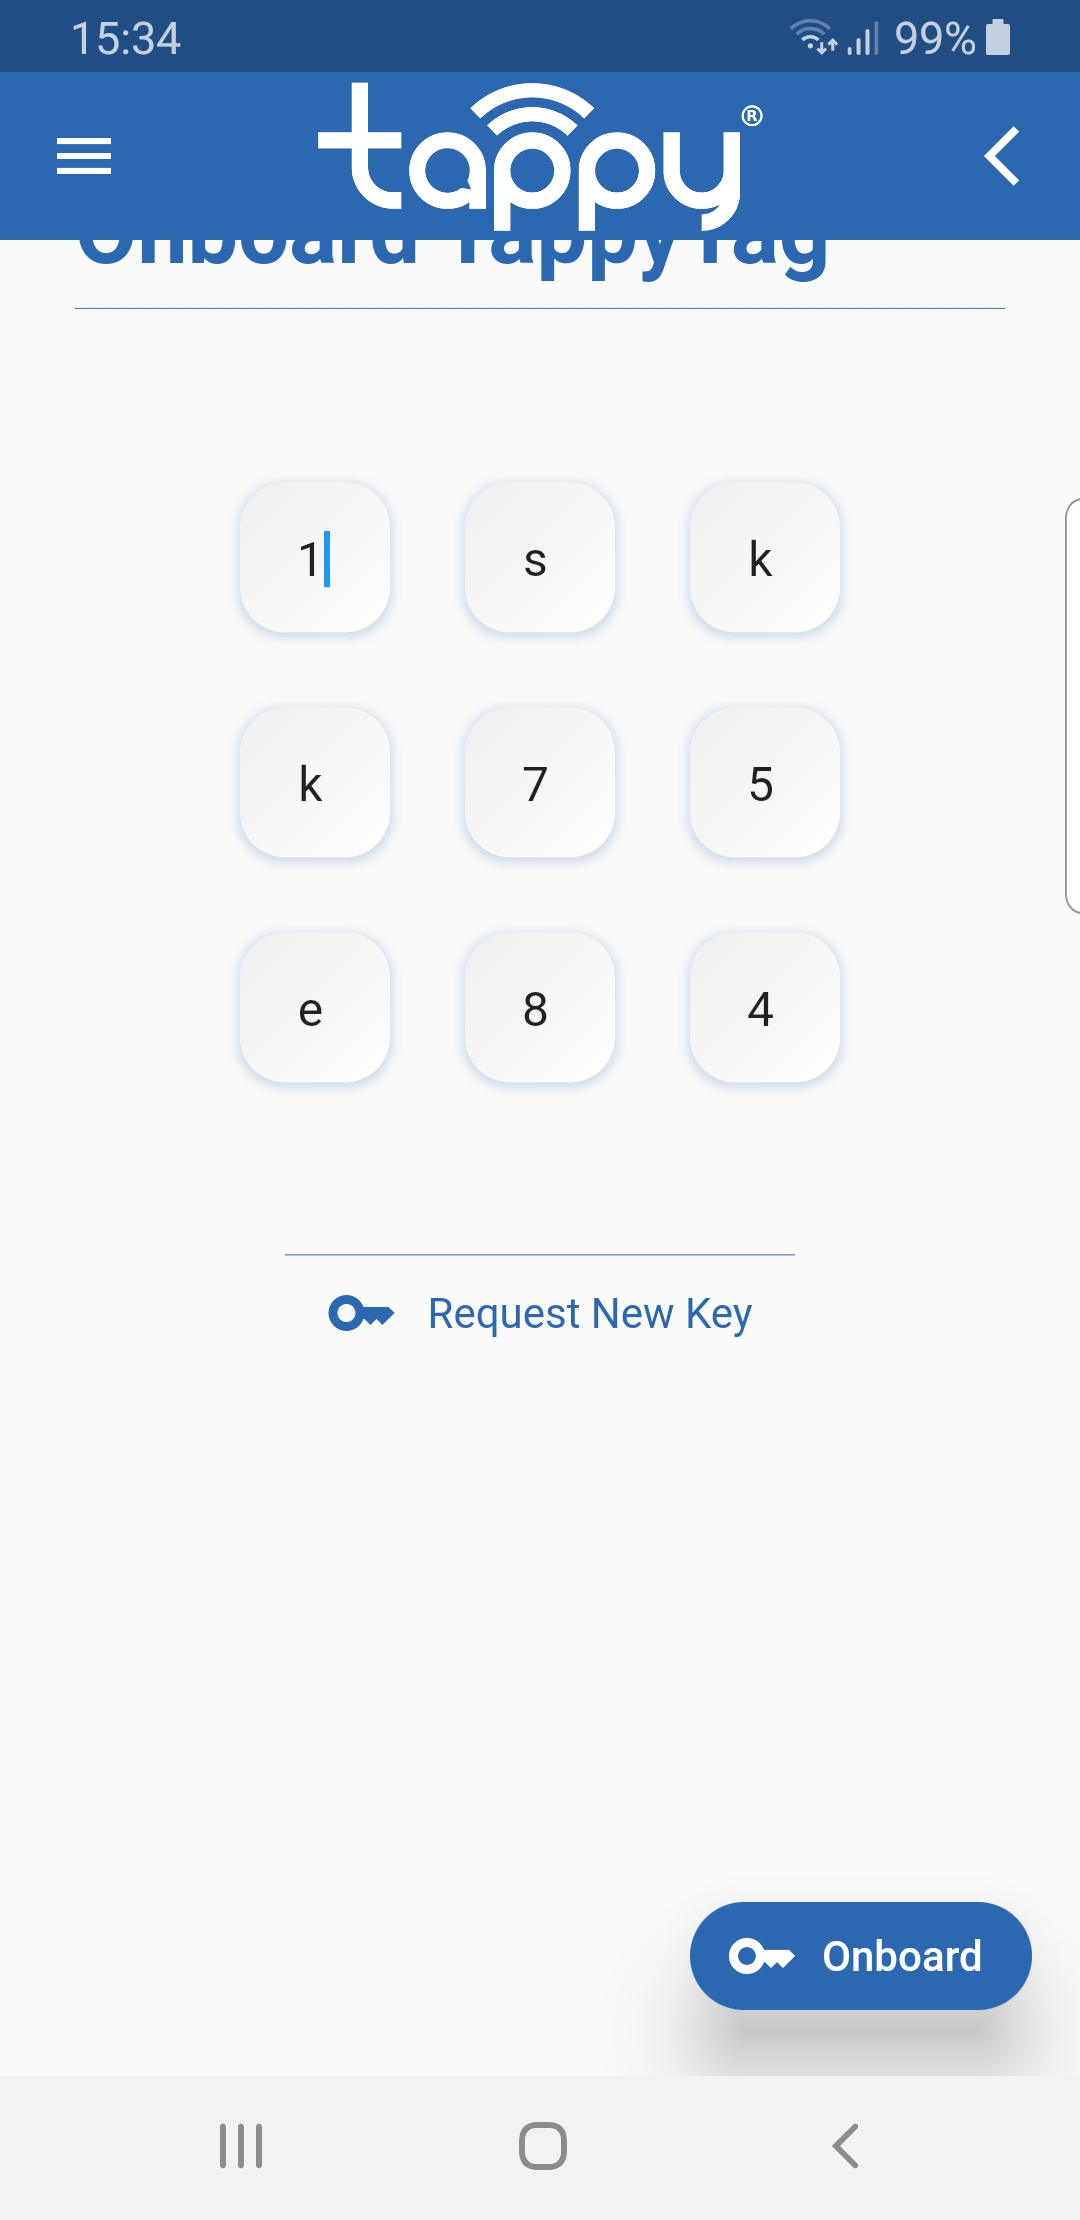
Dopo la lettura del TappyTag attendi qualche secondo: si aprirà la schermata seguente in cui inserirai la chiave di attivazione che riceverai per mail.
Inserito il codice di attivazione, premere il bottone Onboard per concludere il caricamento; si aprirà la schermata con l’elenco dei tuoi TappyTag: quello appena attivato comparirà in cima alla lista con un nome (preceduto dal segno +) e un nuovo profilo dati associato: il profilo creato, che poi andrai a modificare, è indicato in verde.
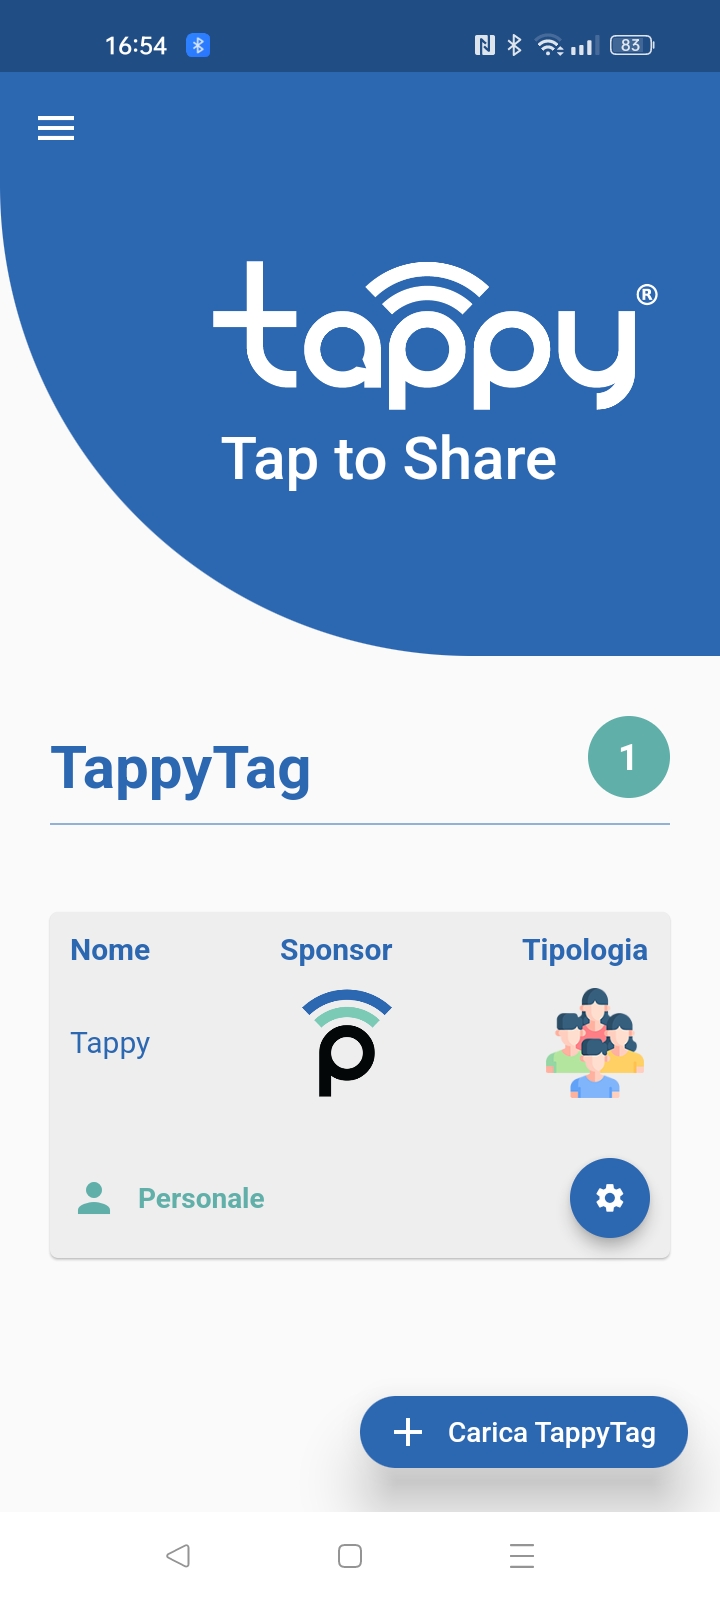
The newly created profile contains only some generic basic data: in the next step we will see how to modify it with your own data.
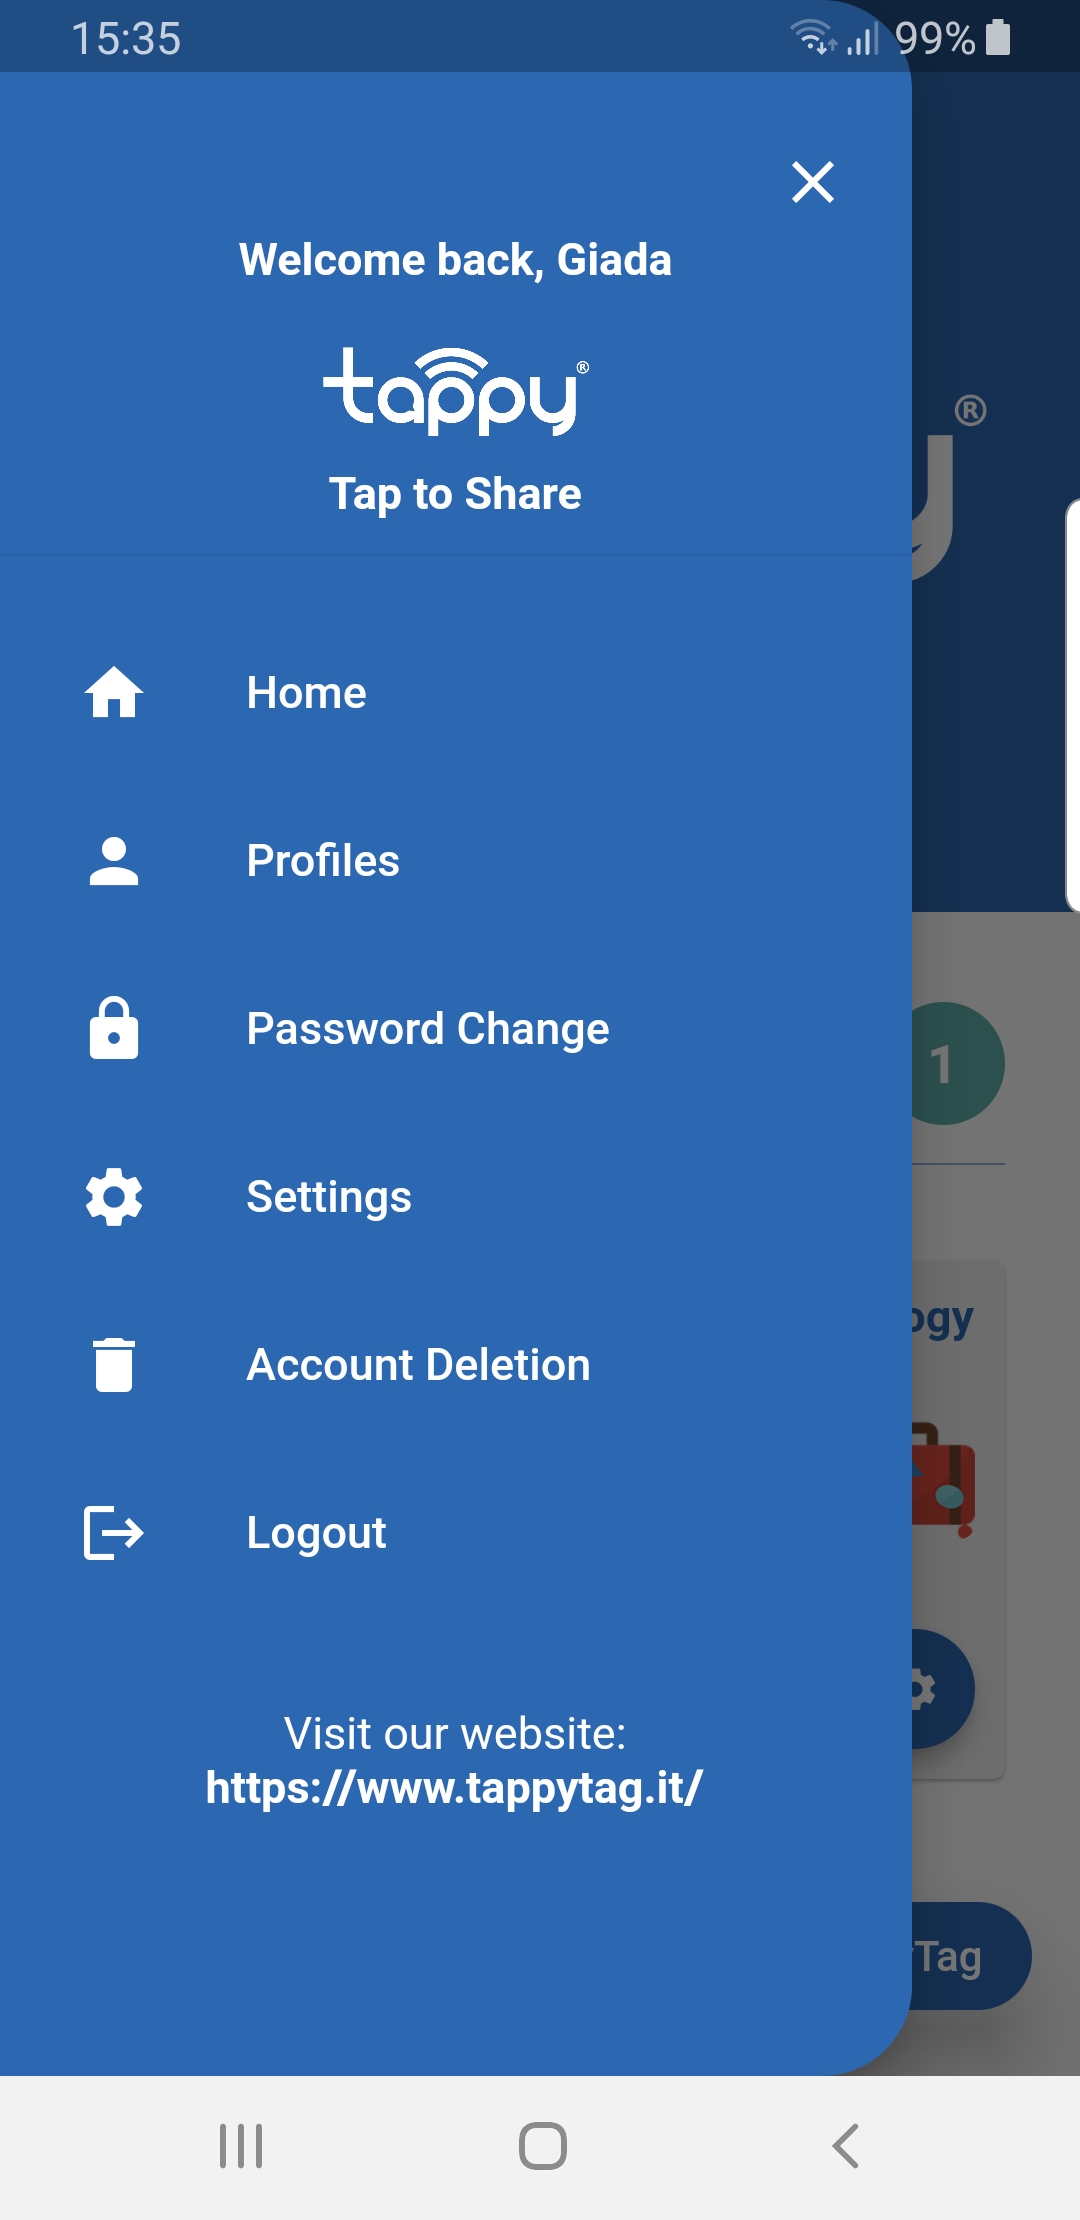
Select the item Profiles.from the main menu: a list of existing profiles will appear, including the one created automatically when onboarding the TappyTag.
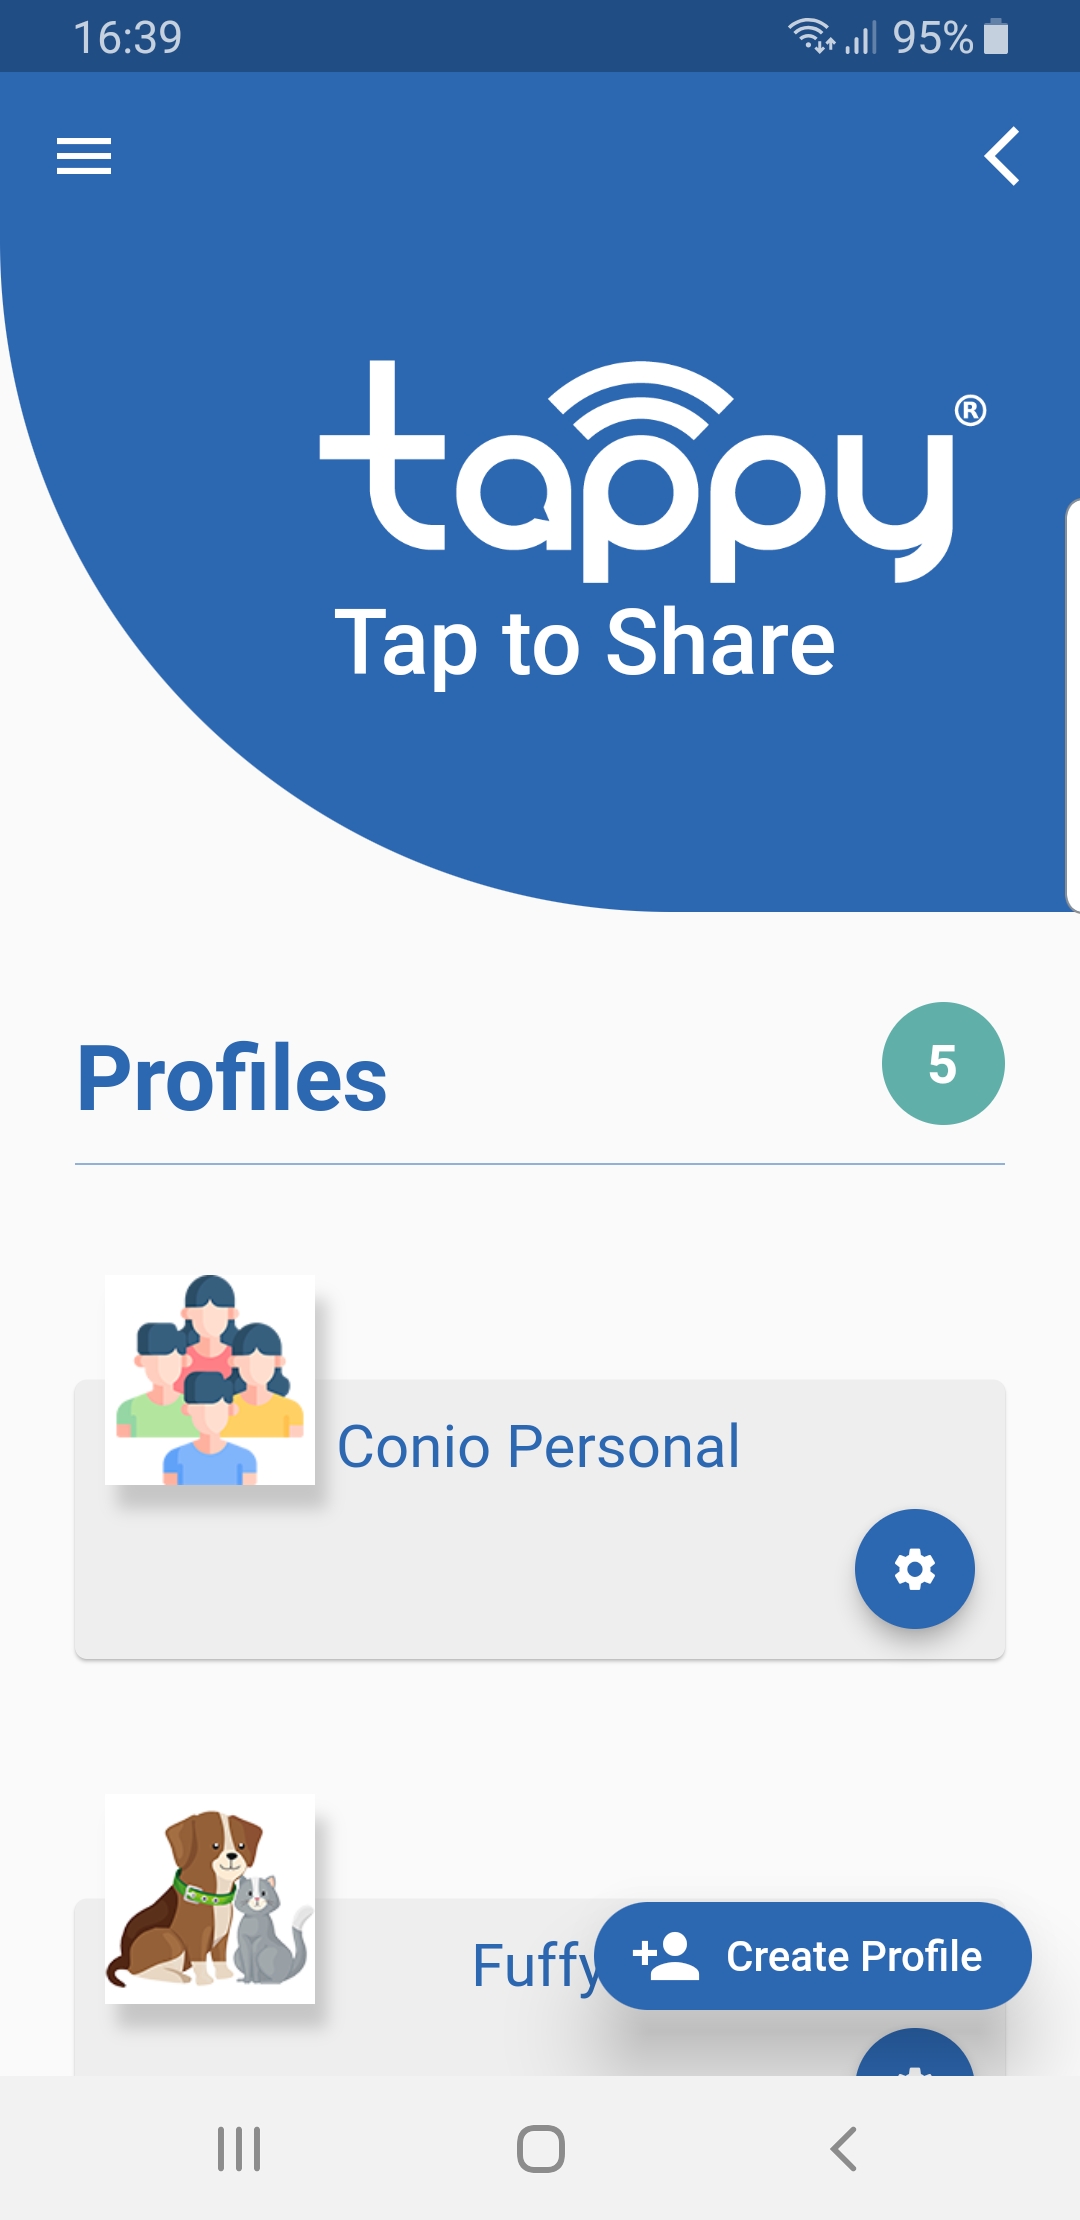
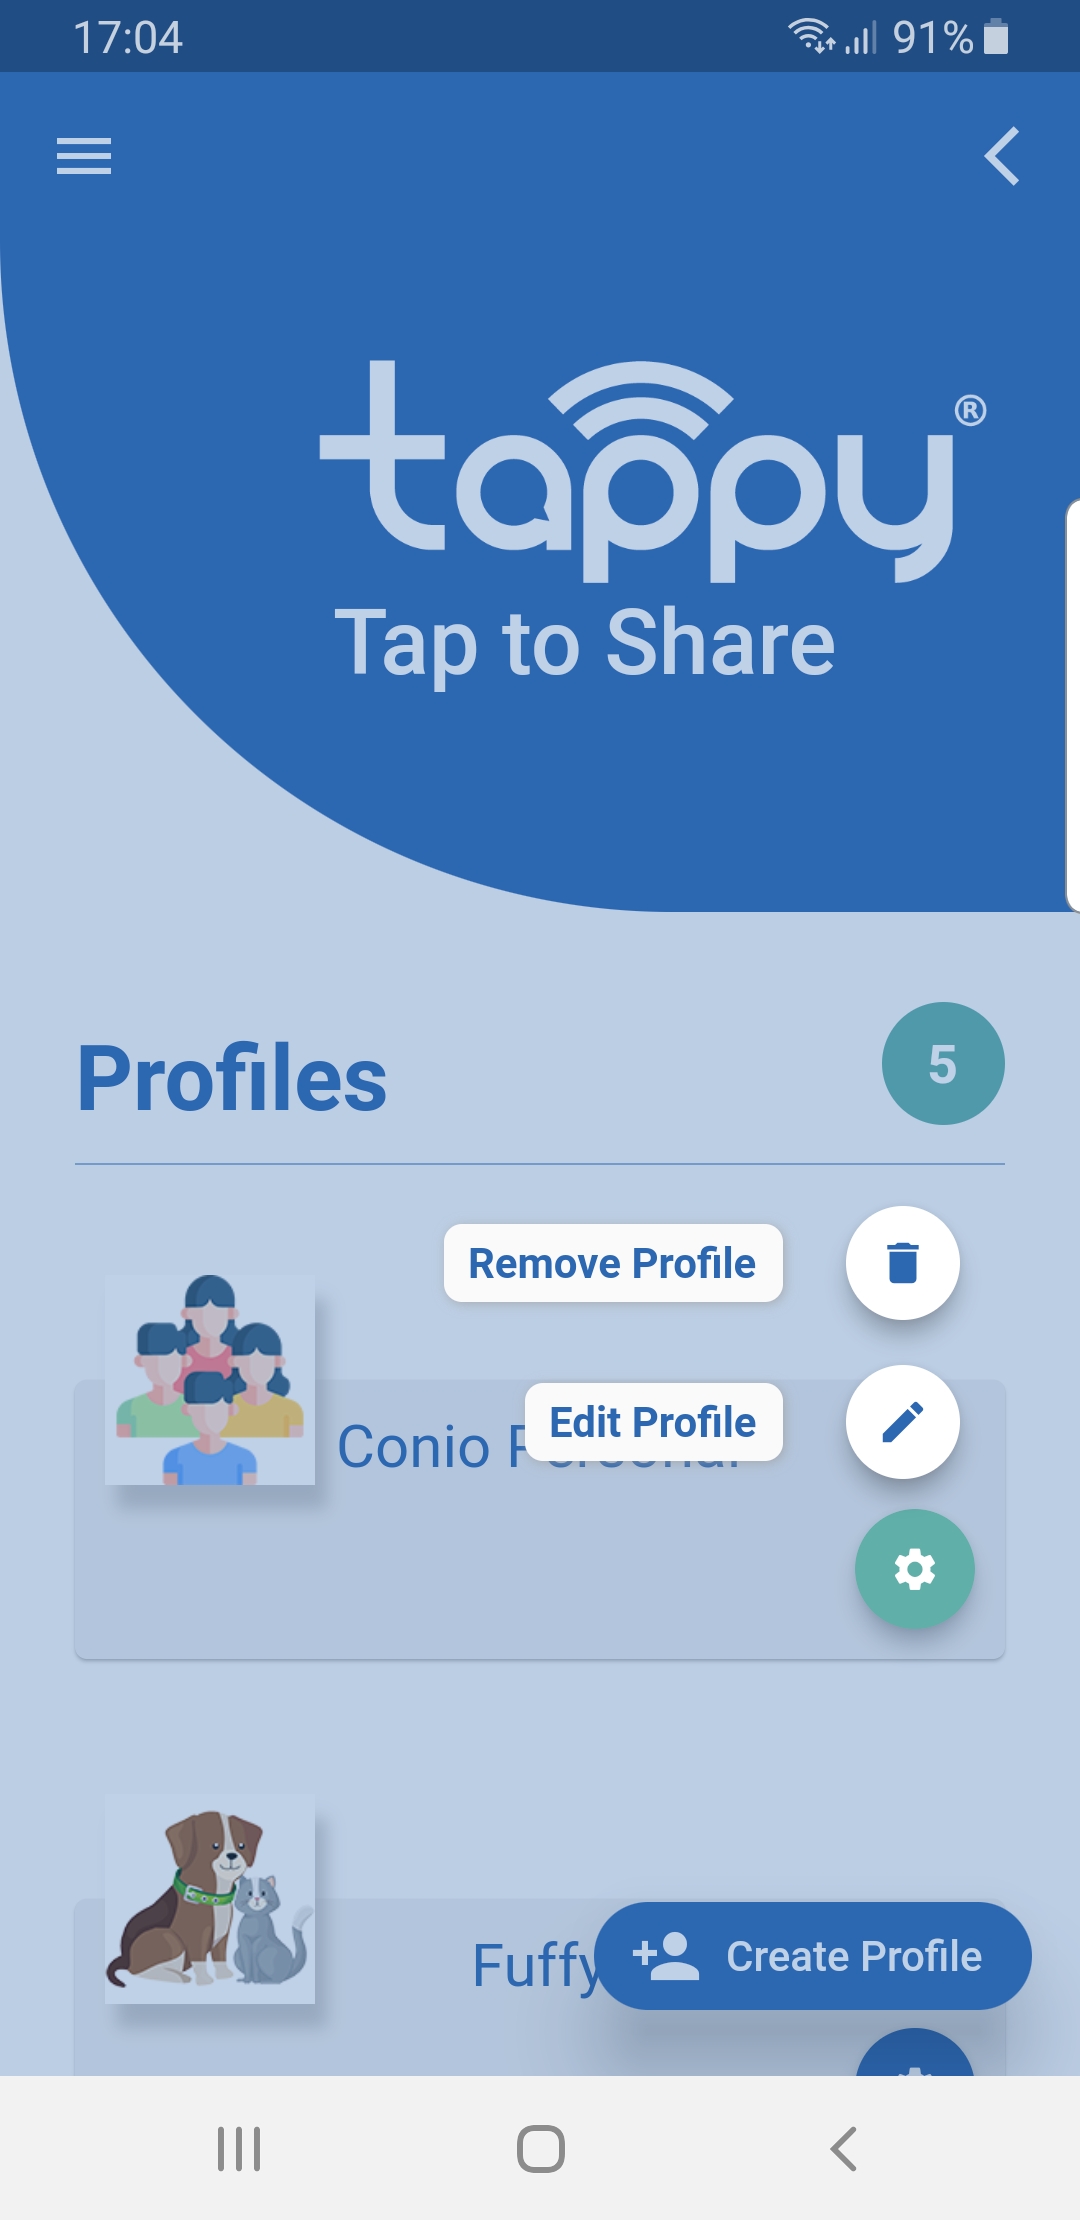
Select the profile to modify and click on the blue icon at the bottom right: press the item Edit Profile.
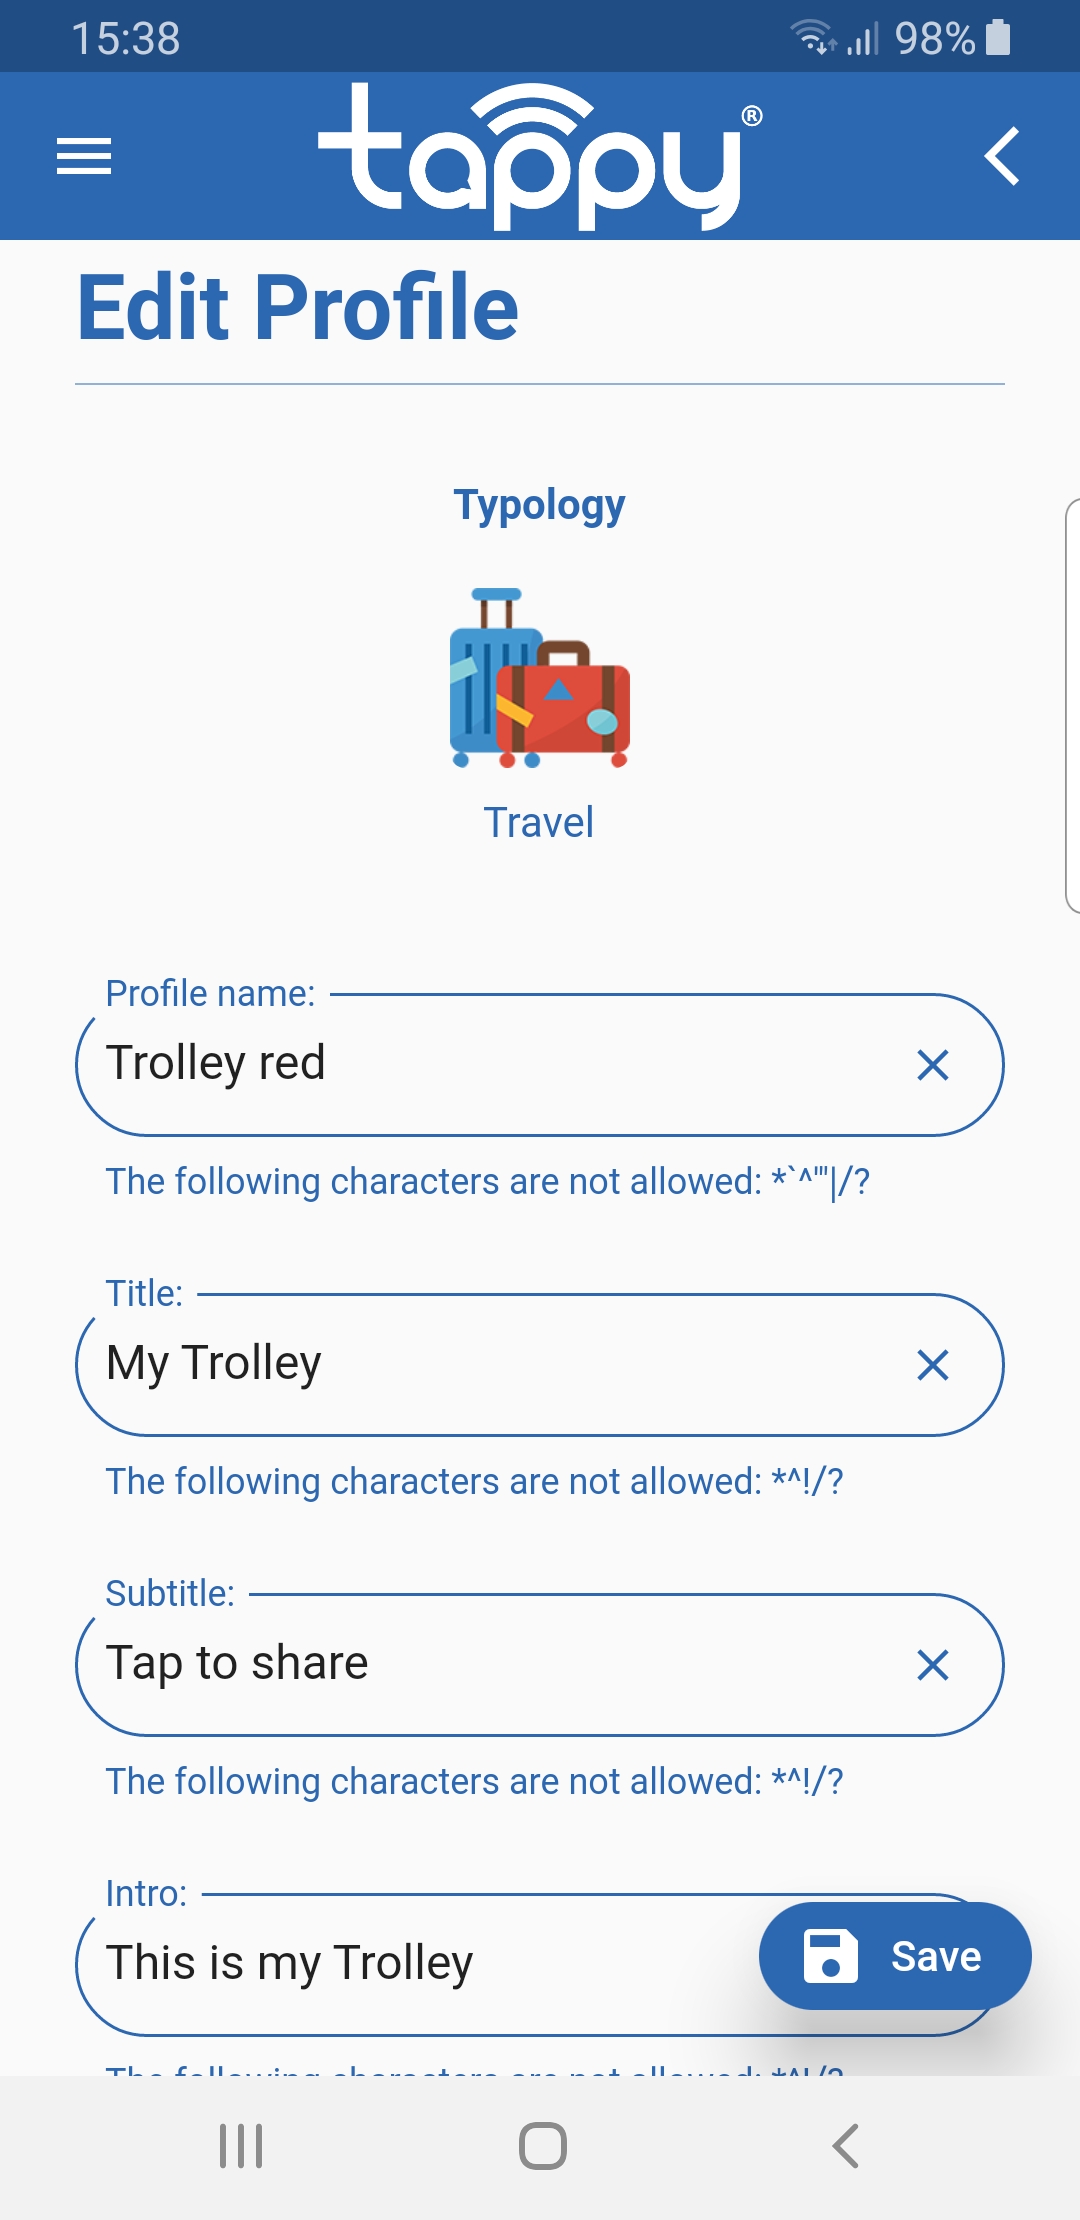
Then proceed with the compilation of the individual data fields:
- Profile name: for internal use of the app to distinguish the various profiles created;
- Title: Text that is highlighted at the top of the shared data page (e.g. Name of the data owner);
- Subtitle: text displayed below the title (e.g. company name or company role);
- Intro: descriptive text of the data profile.
By clicking on Choose File you can upload an image to associate with the profile by taking it from the smartphone photo gallery or directly from the camera.
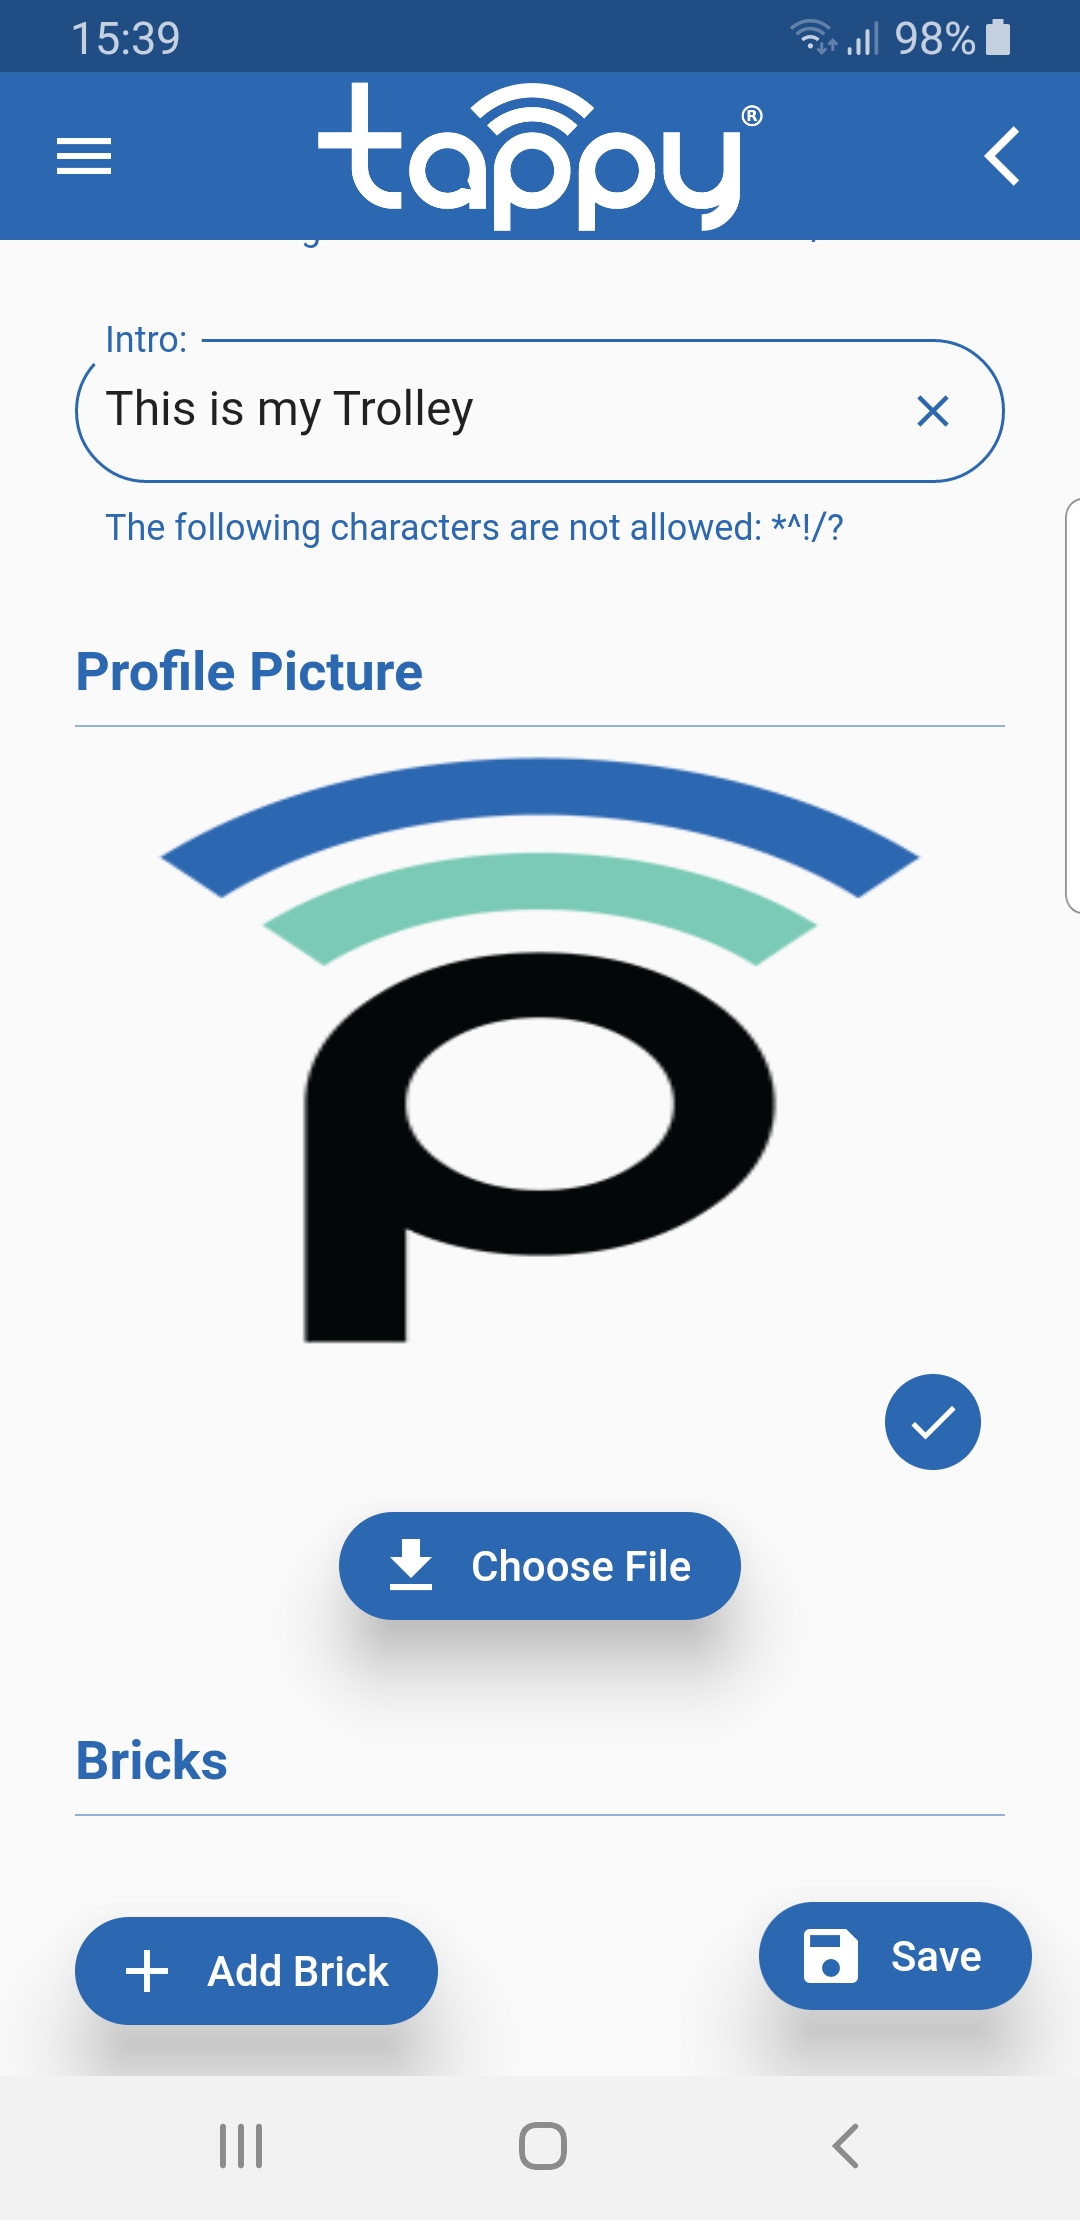
Then proceed to load the individual bricks that make up the data profile: press on the icon Add Brick and select the desired category. In this example we will enter an email address that belongs to the Contacts category:
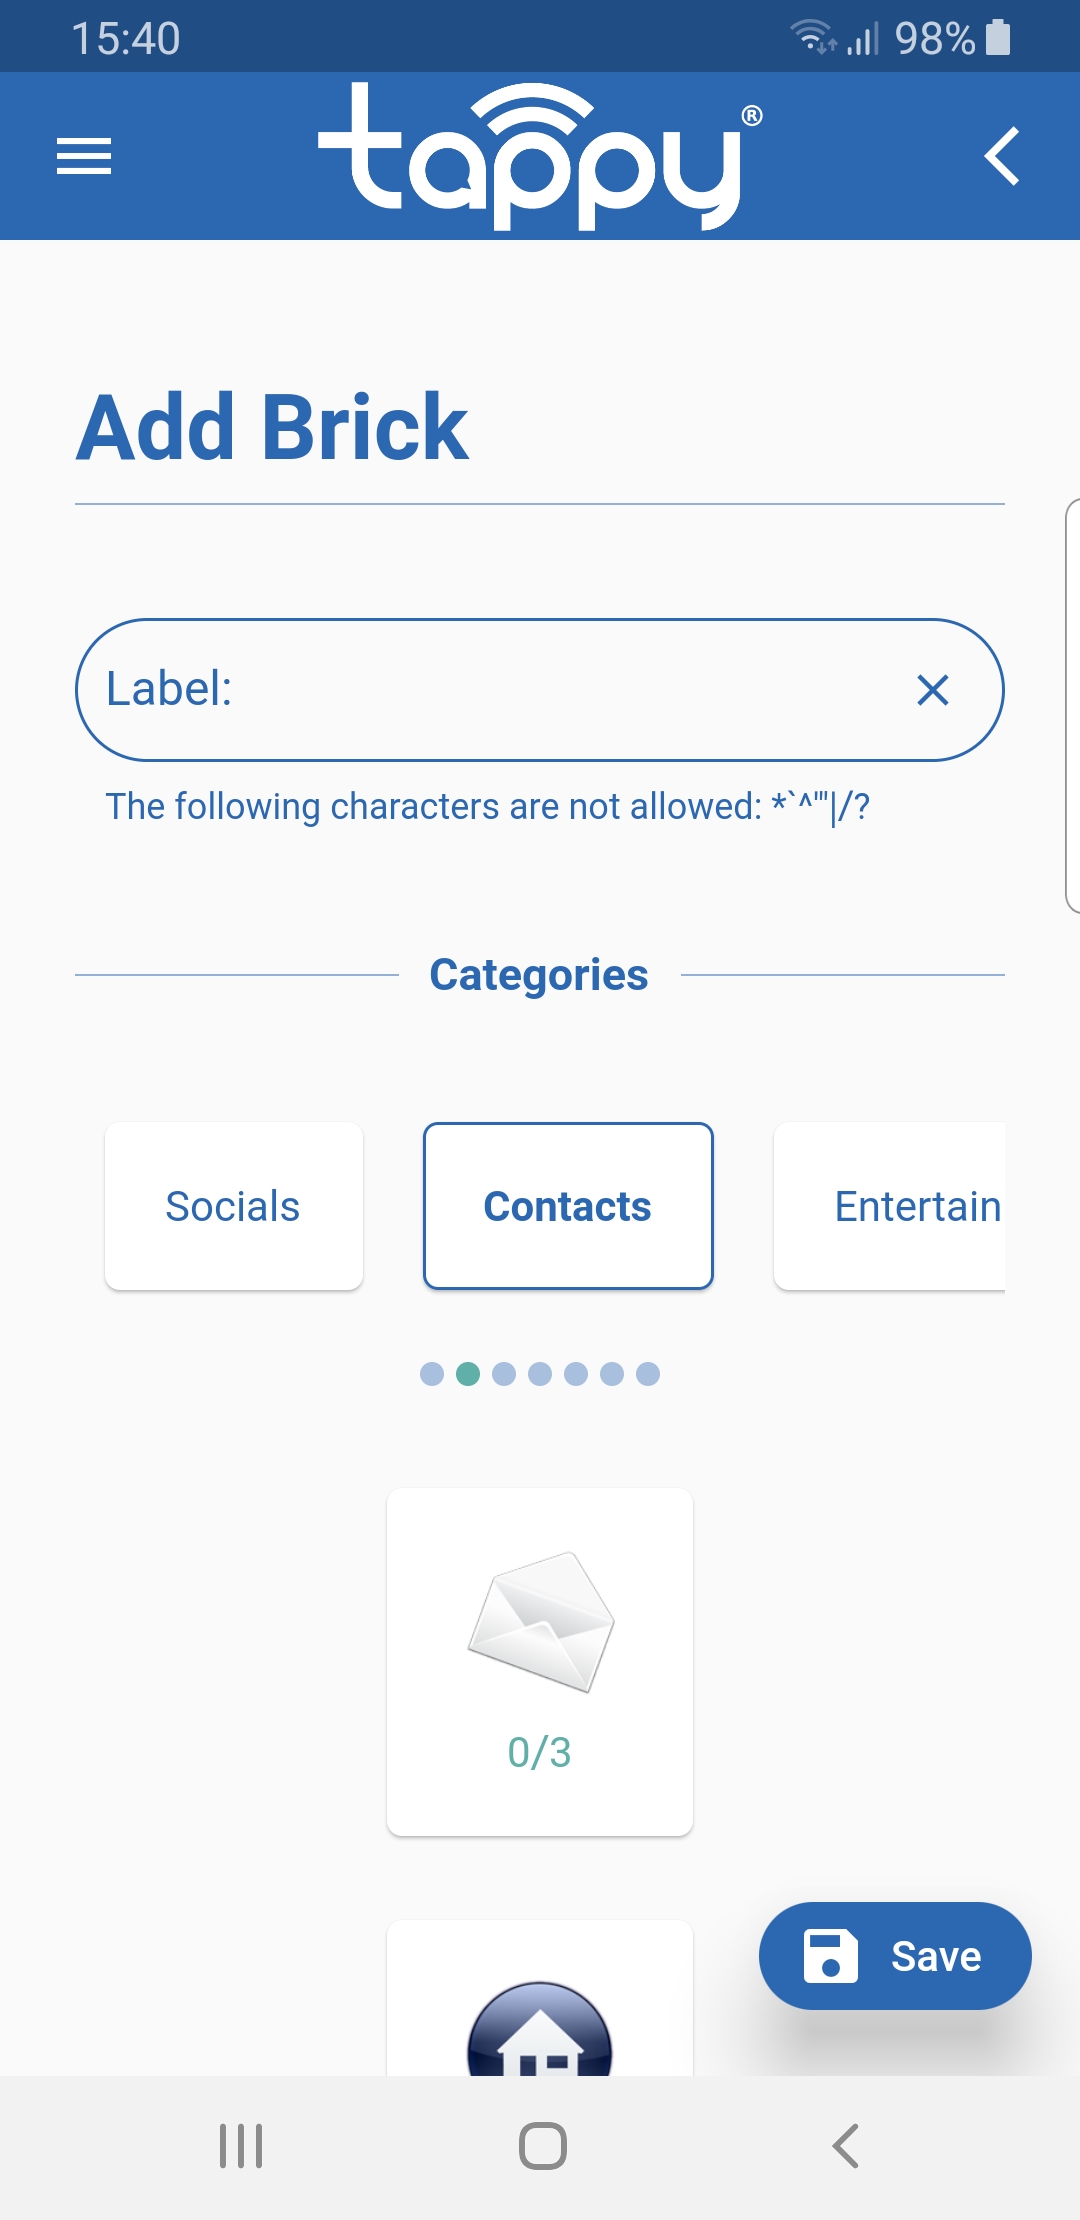
then clicking on Contacts the list of bricks available for the category is displayed (the number of uses and availability is shown for each brick): click on the email icon to enable the box in which to enter the address.
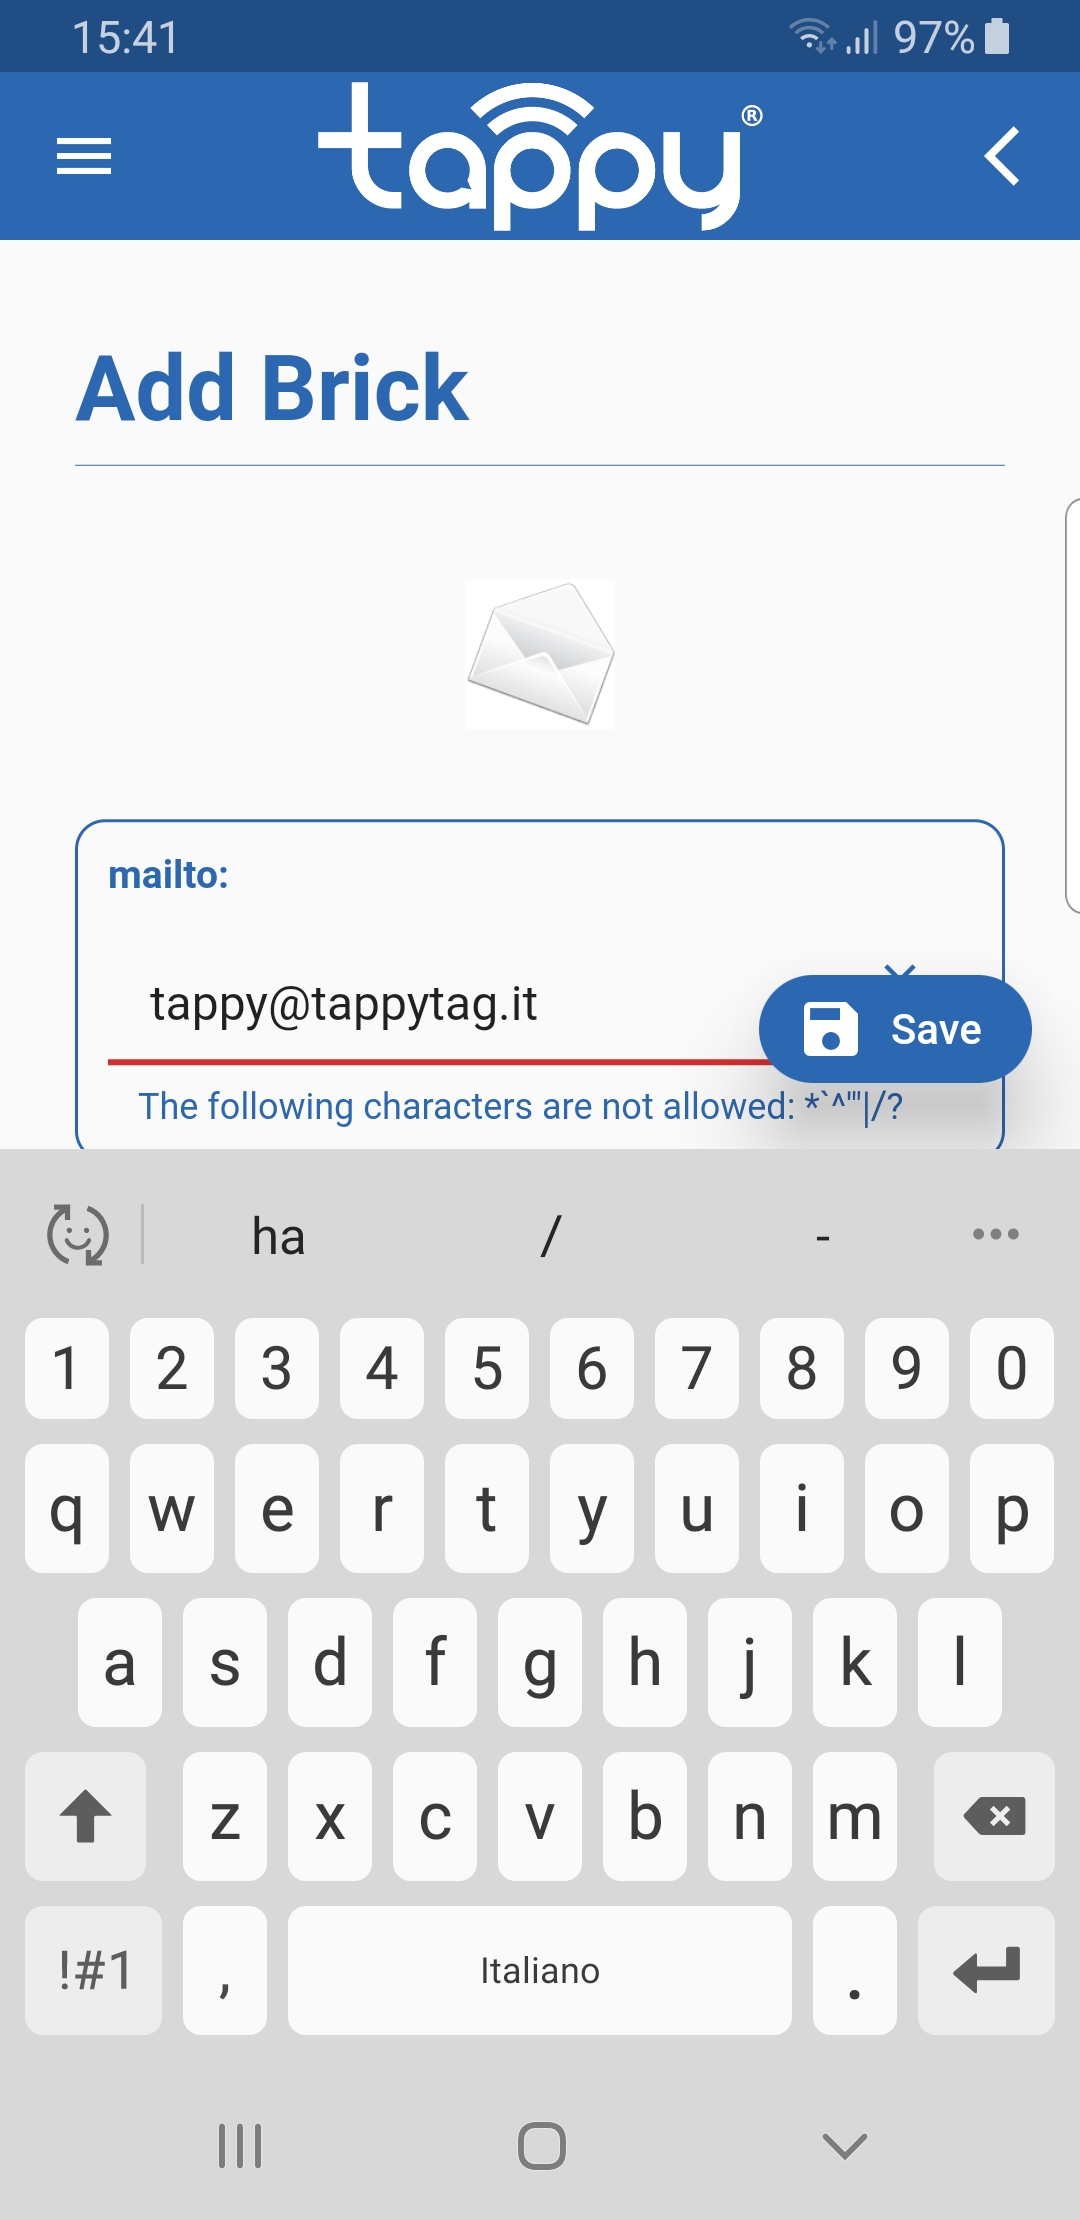
Then clicking on Save you go back to the profile edit form with the inserted brick added. Pressing again Save the profile is completed.
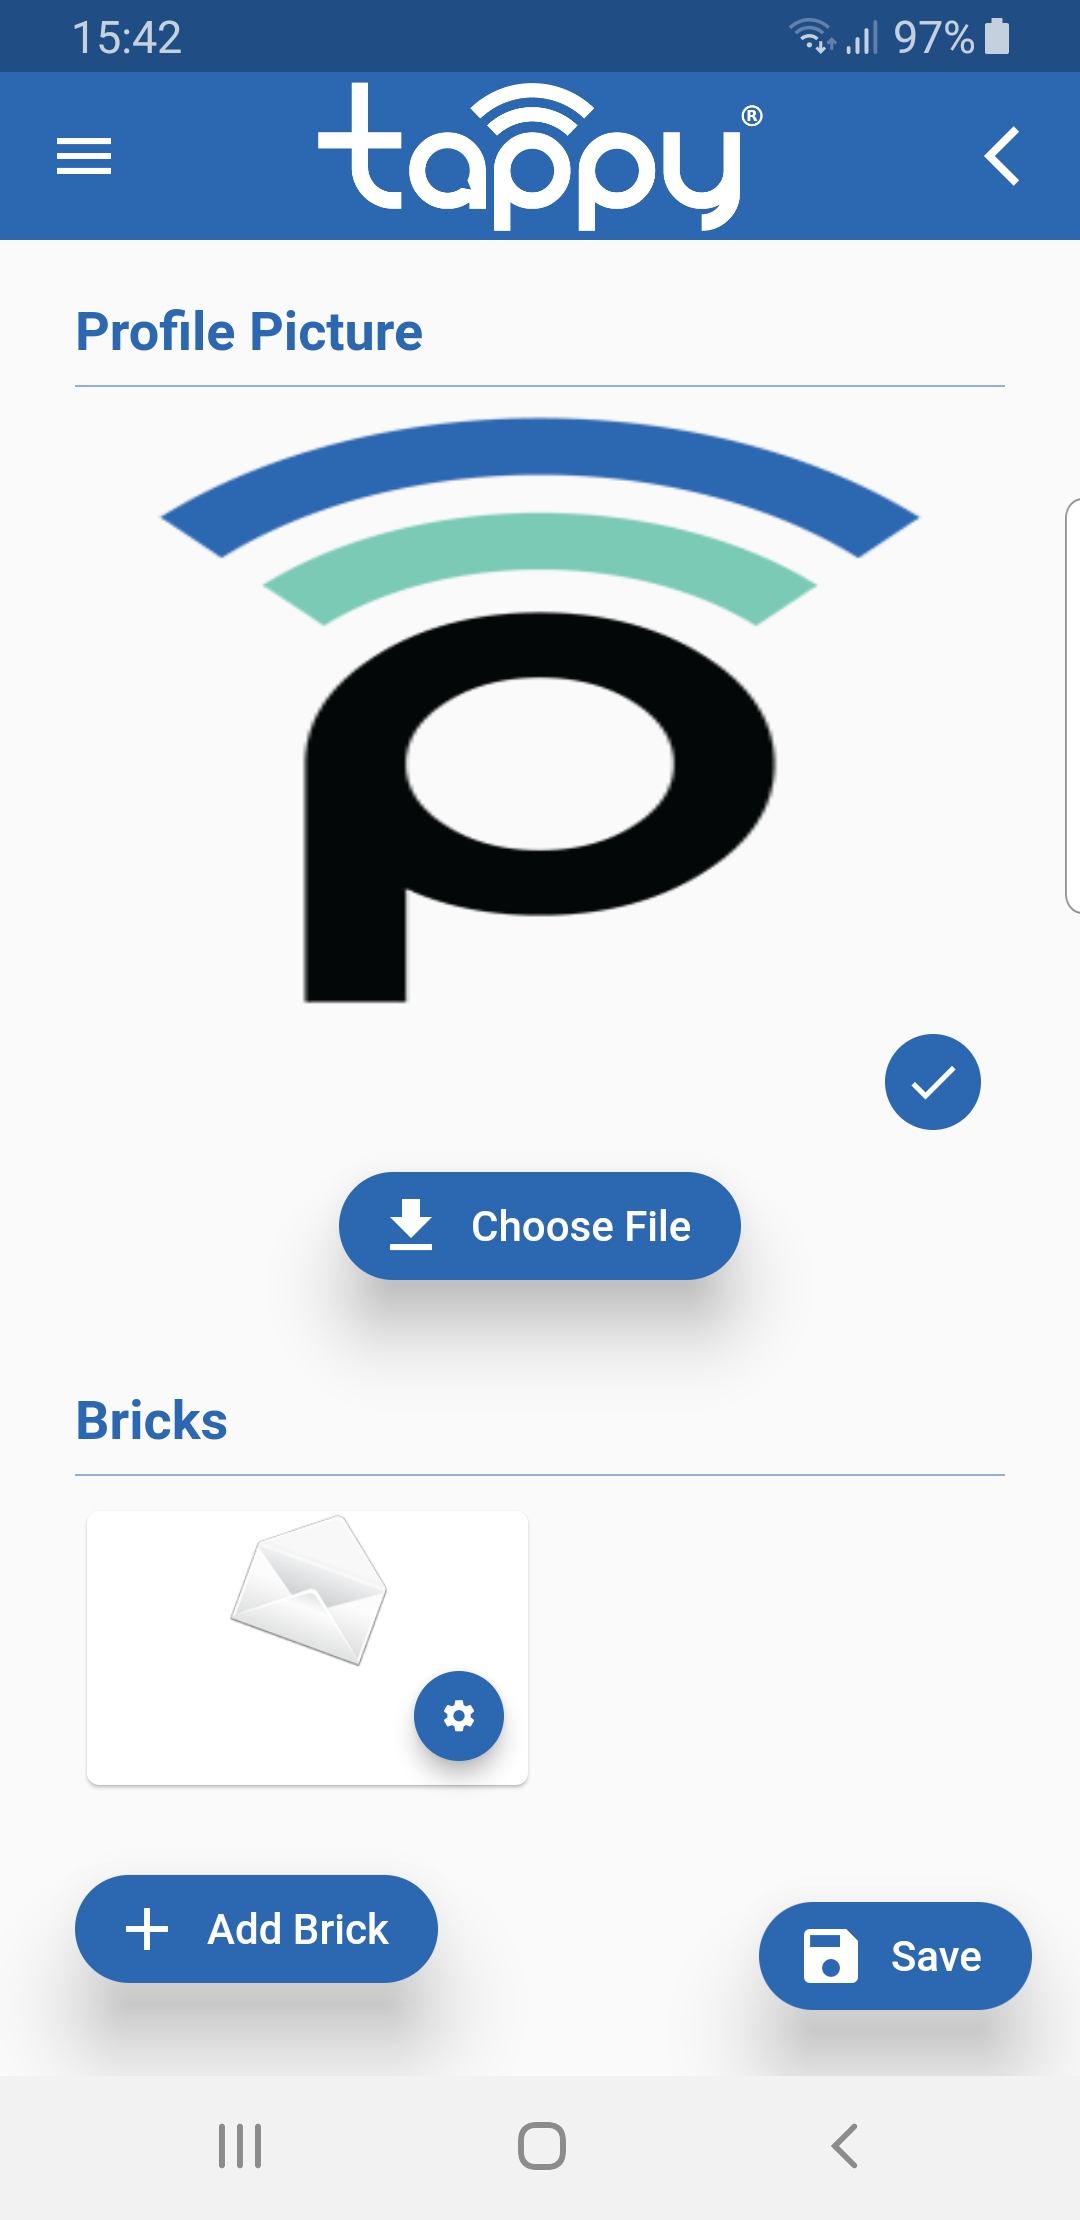
The TappyTag is now ready to display the data of the associated profile
N.B. the brick list can be reordered with a simple drag and drop before saving.
If the profile includes more bricks of the same type, an Label box will also be enabled:the text entered will be displayed on the sharing page under the brick icon (e.g. if I enter two email addresses, I can distinguish them by inserting two identification labels).
Two bricks need a note:

The text of the brick dedicated to the address can contain the character @ which is interpreted as a carriage return. E.g. writing “Via Boccaccio, 45 @ Milan" on the sharing page, by clicking on the icon, the following will be displayed:
- Via Boccaccio, 45
- Milano

The generic text entry brick creates a highlighted row on the sharing page containing the text entered. It is used to create section headers in which to insert bricks of the same type or to insert textual messages in evidence.

